ADVERTISEMENT
Introduction
A calm studio begins with intention, not renovation. You pare things back, then add only what supports rest, focus, and ease. A few smart, inexpensive choices can turn one room into a soothing retreat rather than a chaotic catch‑all. 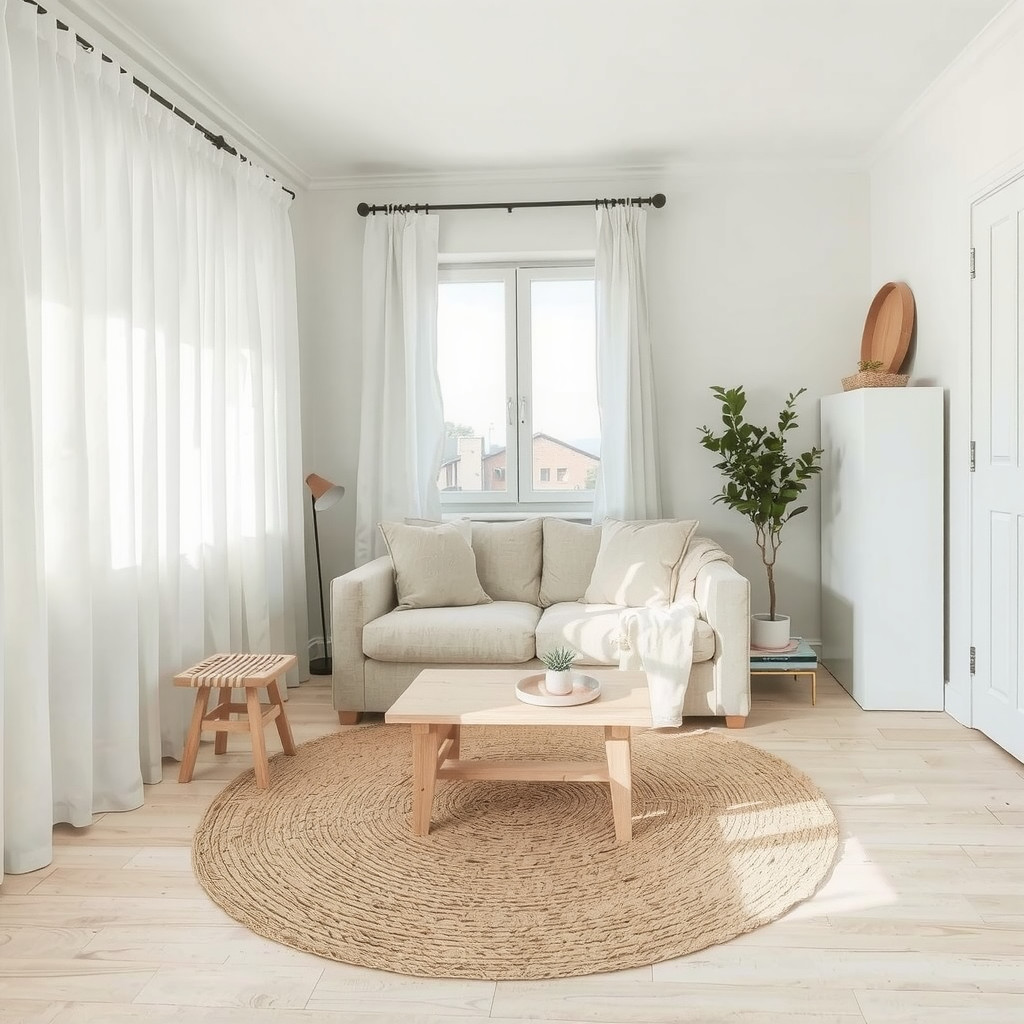
You create zones with color, texture, and light instead of walls, letting every object earn its place.
Layout and Positioning
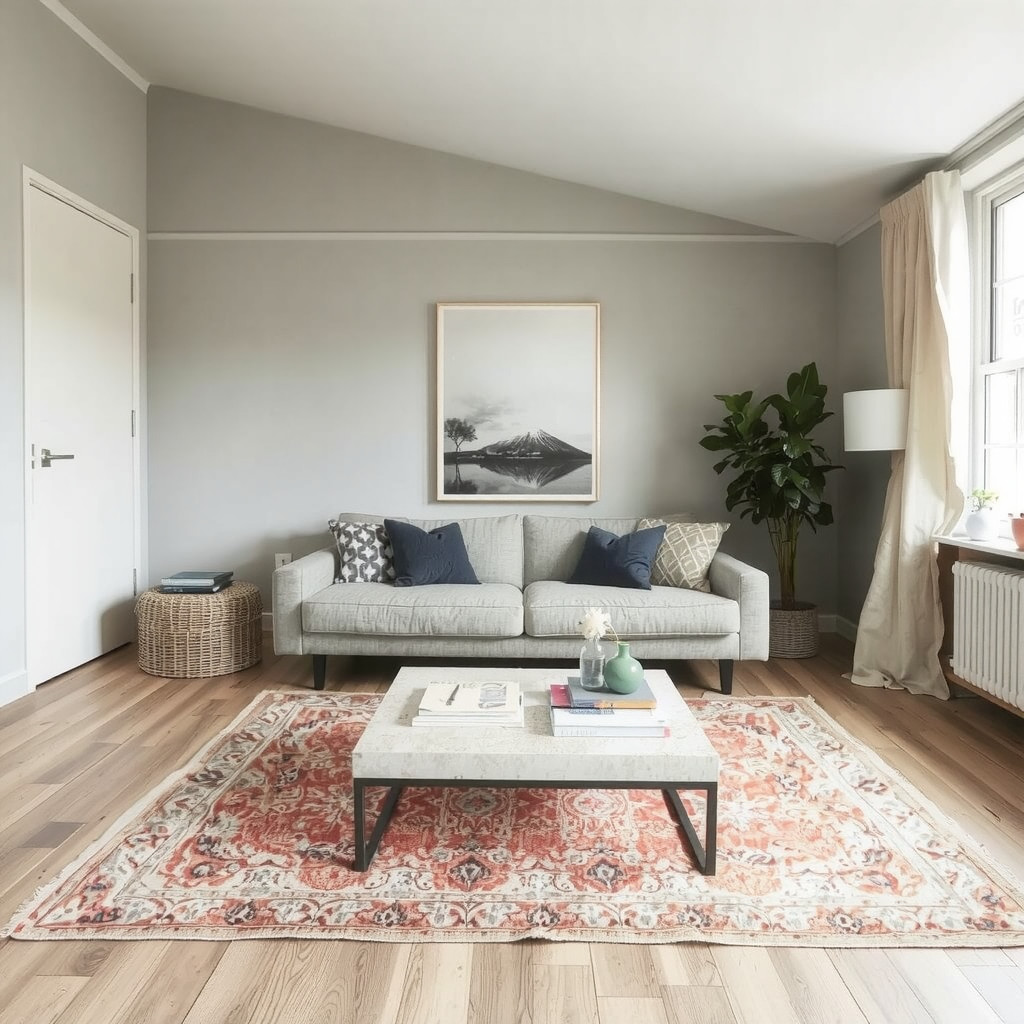
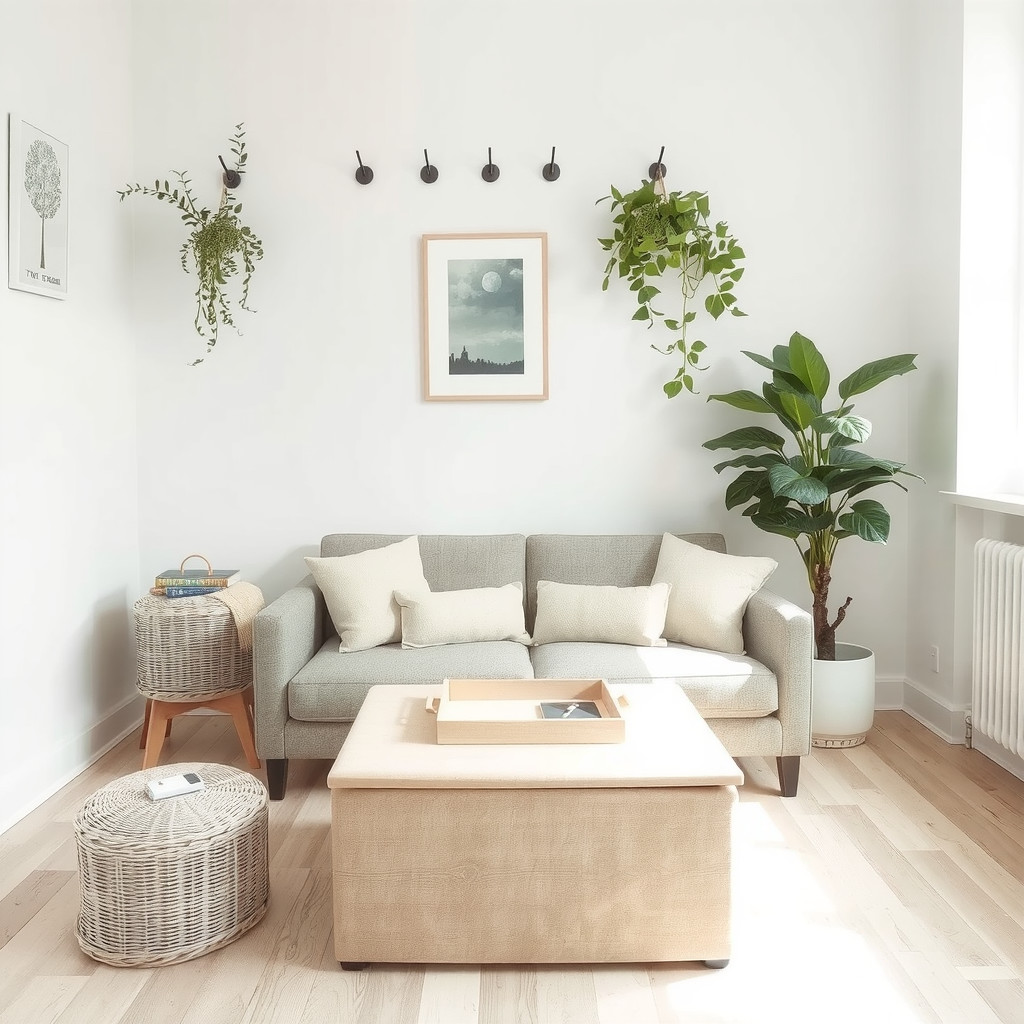
Start by pulling furniture off the walls. Even shifting your sofa or bed a few inches forward adds depth and makes the room feel considered. 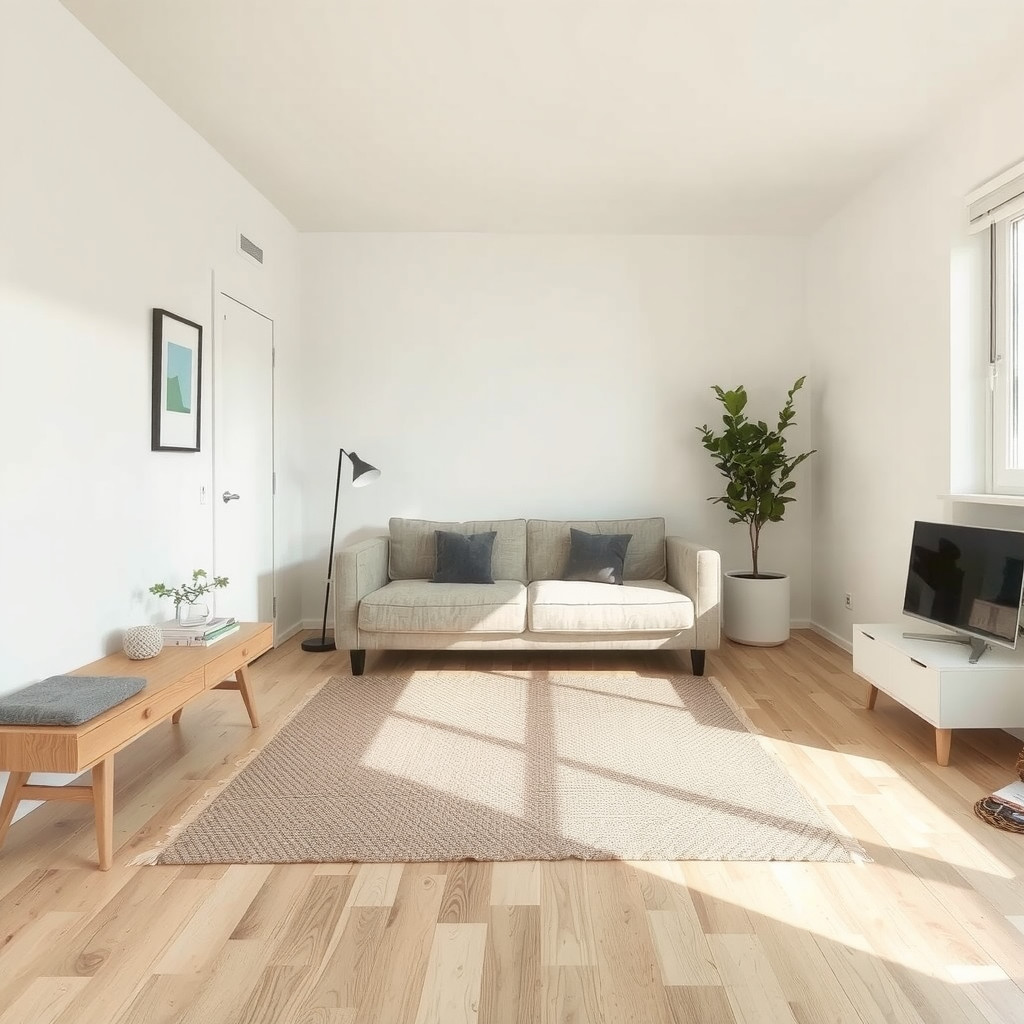
Float your sofa so its back subtly separates “living” from “sleeping,” then tuck a slim desk behind or beside it. Use a single rug to anchor the main area, placing front furniture legs on it so everything feels connected, not scattered.
Keep high pieces, like wardrobes or tall bookcases, to one side of the room, avoiding a crowded skyline. Leave one wall mostly clear; that breathing space instantly calms the eye and costs nothing.
Materials and Textiles
When you simplify colors, texture becomes the quiet luxury. Choose one or two budget-friendly neutrals—soft beige and warm white, or gentle greige and stone. 
Layer an inexpensive jute or flatweave rug with a smaller, softer throw rug underfoot. Add cotton or linen-look curtains that skim the floor, even if they are simple panels on a basic rod. Swap busy printed bedding for solid tones, then bring interest through one striped pillow, a waffle blanket, or a nubby cushion.
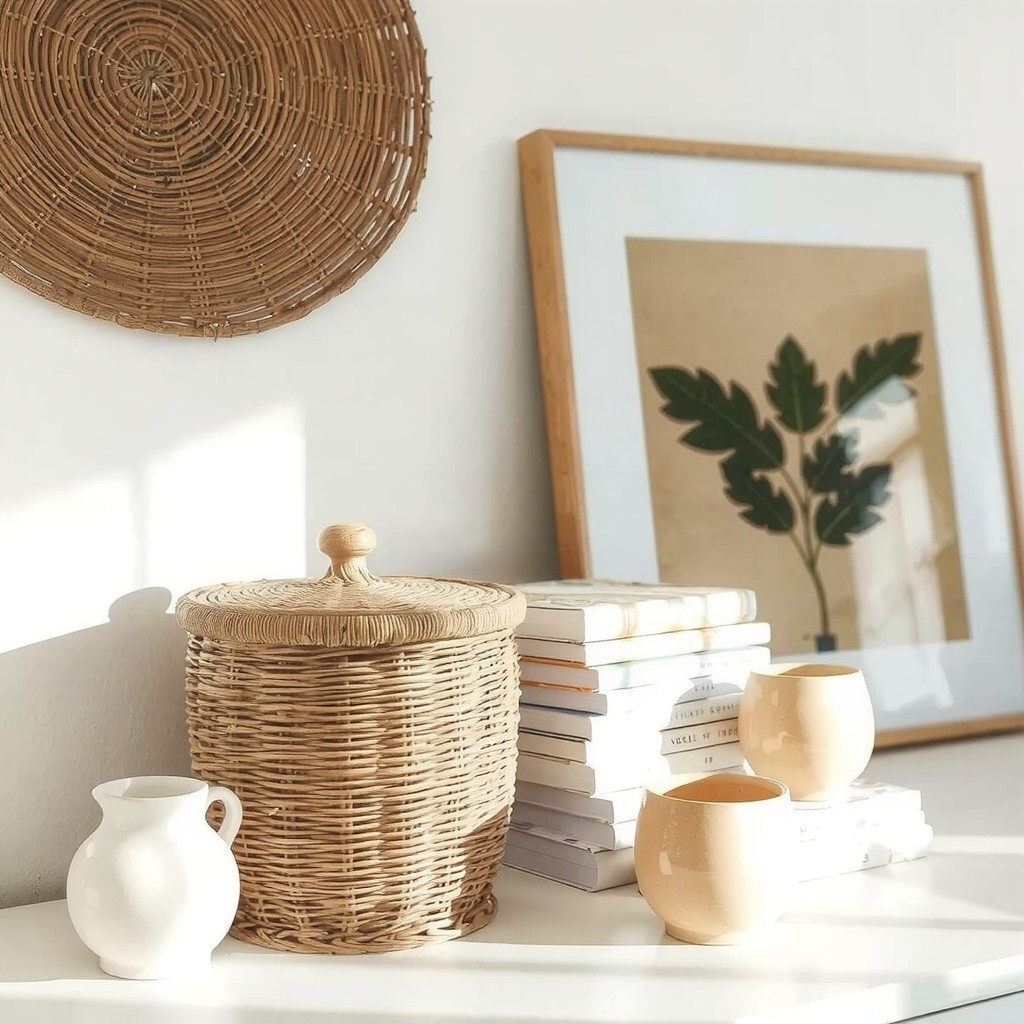
Mix a few natural materials—laminated wood, rattan, woven baskets—with smooth surfaces like painted MDF or metal frames. The contrast feels elevated, even when pieces come from discount or secondhand shops.
Focal Points
In a studio, one strong focal point organizes everything. Choose either the wall behind your bed or the area above your sofa and let that spot quietly shine. 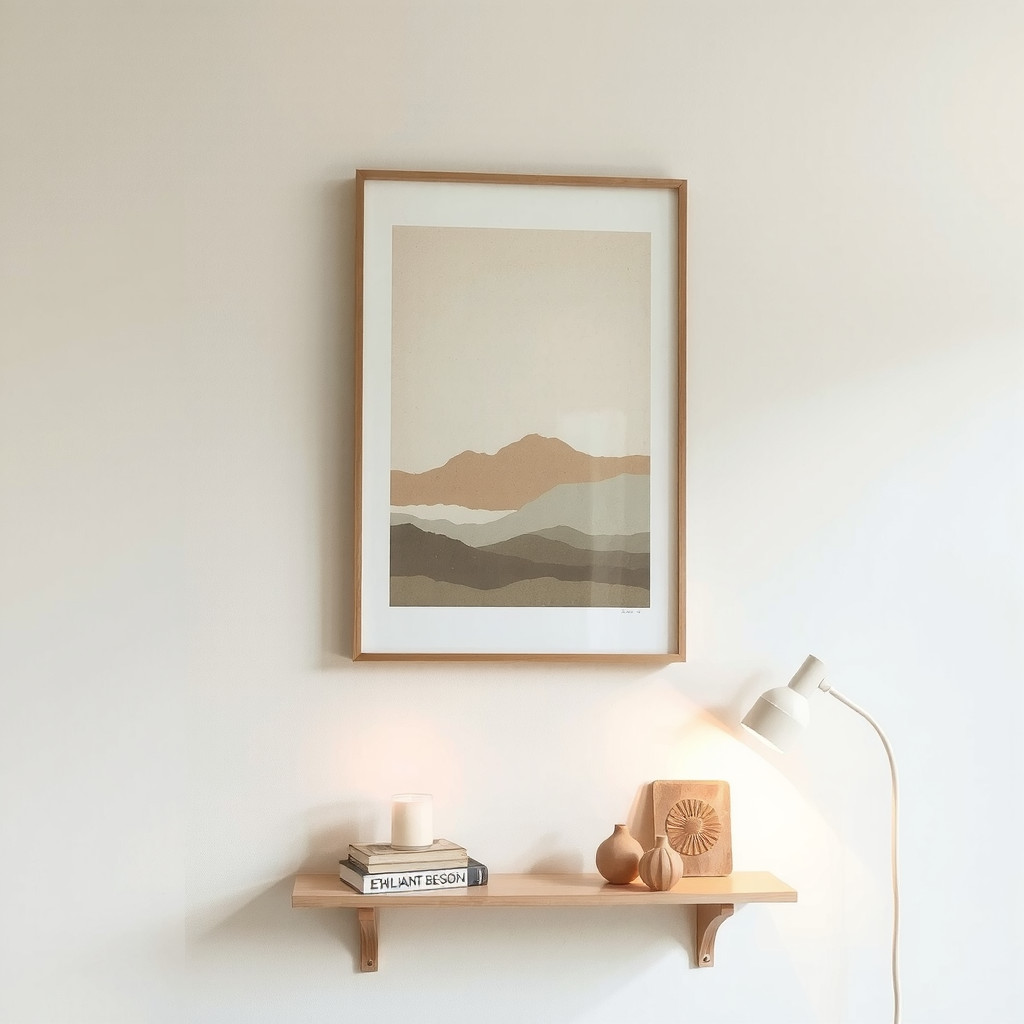
Hang one oversize print in calming tones instead of many small frames. You can DIY this with a poster and an inexpensive frame. Beneath it, install a slim shelf to corral candles, a small stack of books, and a single sculptural object.
Keep the surrounding surfaces mostly clear so the eye naturally rests there. This single move makes the whole room feel intentional, not accidental.
Lighting
Light is your most powerful budget tool. Aim for three layers: ambient, task, and accent. Start with what you have, then add affordable pieces with soft, warm bulbs. 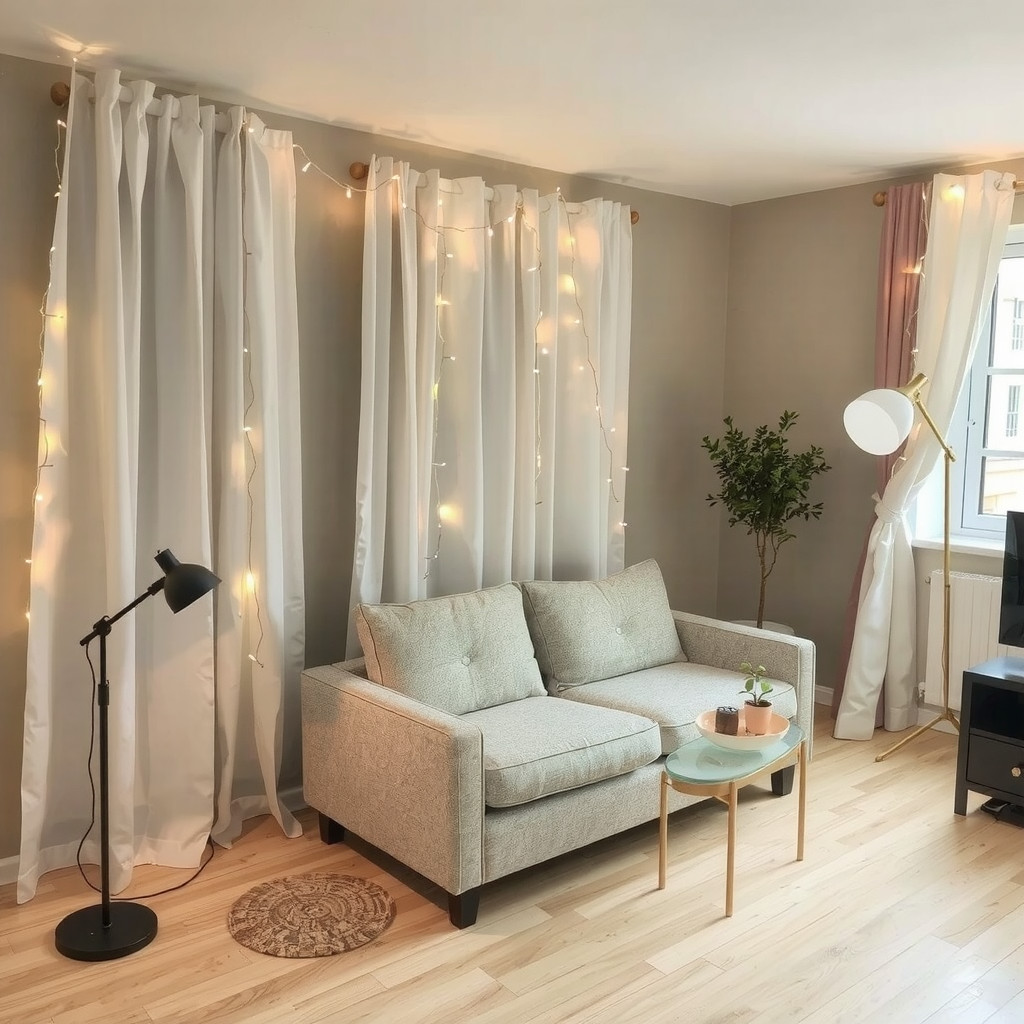
Use a floor lamp to brighten the main seating zone, then place a small desk or clamp lamp where you read or work. Drape a short string of warm white fairy lights along a shelf or curtain rod for gentle evening glow.
Avoid harsh overhead light when winding down; rely instead on low, scattered sources that make your studio feel like a cocoon.
Greenery
Even a tiny studio feels fresher with a few living accents. Start with two or three easy plants rather than many small pots. 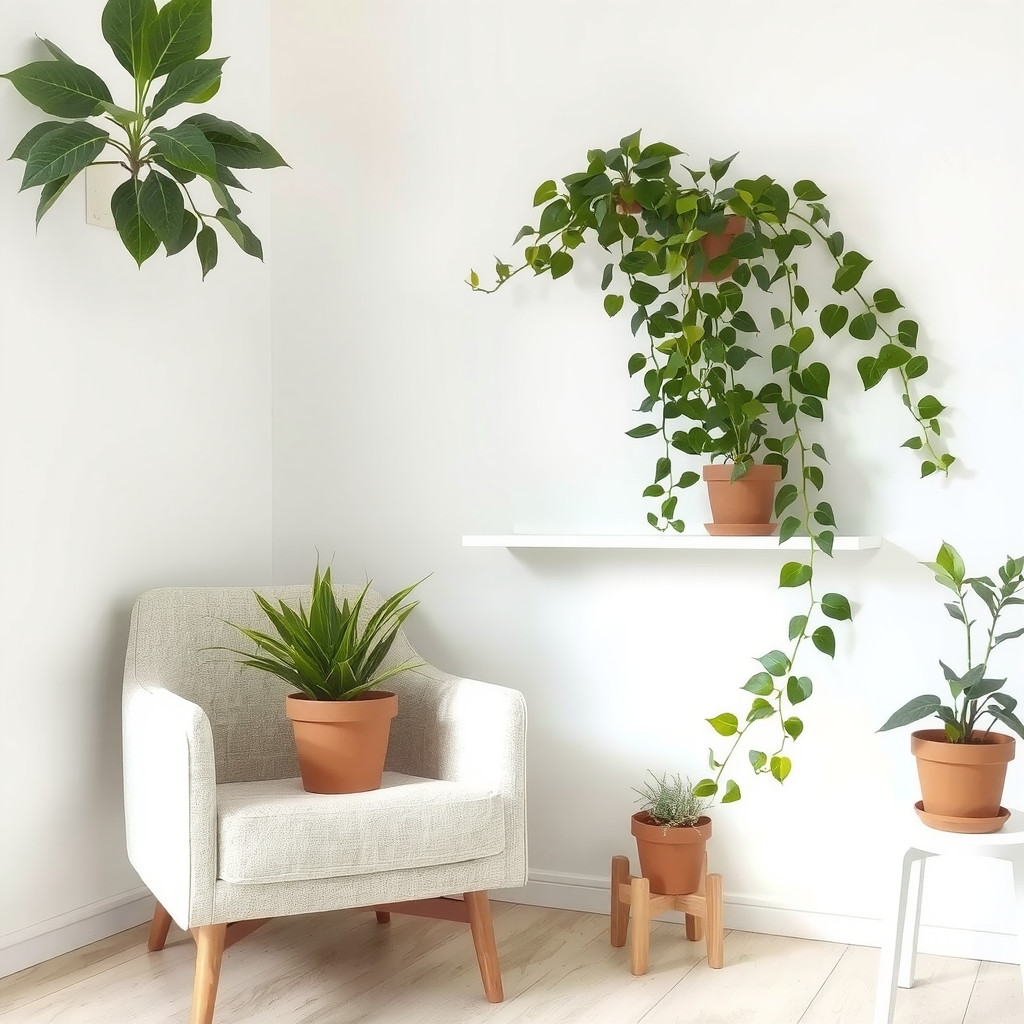
Place one medium plant near the window, another on a side table, and perhaps a trailing vine on your focal shelf. Terracotta or simple white pots keep things cohesive and inexpensive.
If natural light is limited, mix one real plant with a high-quality faux branch in a glass or ceramic vessel. The combination still reads lush without demanding constant care.
Tips
- Shop your home first; move unused pieces into the studio before buying anything new.
- Choose multifunctional furniture, like a storage ottoman or lidded baskets that double as side tables.
- Stick to one tight color palette so even mismatched, budget finds feel cohesive together.

- Use removable hooks and strips for art, mirrors, and shelves to keep everything renter-friendly.

ADVERTISEMENT